The failure mode of most inventory system implementations isn’t the software – it’s the setup. A business imports every item from their spreadsheet before deciding how to categorize them, ends up with an uncategorized mess that no one trusts, and concludes the software doesn’t work. Or they set up transactions before setting up items, and the transaction history is unreconcilable.
Getting how to set up inventory management for small business right is about sequence as much as anything else: items first, structure second, locations third, transactions fourth. This guide walks through the process in order, with the specific decisions to make at each step.
Disclosure: this article contains affiliate links. We may earn a commission if you buy through our links, at no extra cost to you.
Before You Start: What to Decide First
Decide Your Item Structure
Every physical product you stock is an item in your inventory system. Before importing anything, decide:
What is the unit of measurement? Count by piece, by box, by kg, by meter? This decision determines every quantity in your system.
How do you handle variants? A t-shirt in three sizes and four colors is either 12 separate items (one per size-color combination) or one item with size and color attributes. Most systems handle this through custom attributes; the choice affects how stock counts work and how reports read.
What’s your minimum information per item? SKU (required), name (required), barcode (important for scanning), category, unit, cost price, safety stock level. More is better, but decide what’s truly required at setup vs. what can be added later.
Decide Your Category Structure
Categories determine how you browse and report on your inventory. Too few categories and everything is lumped together. Too many and the structure becomes harder to maintain than the inventory itself.
A practical category structure for most small businesses:
– 5-15 top-level categories by product type
– Subcategories only where genuinely needed to distinguish items at reporting level
Example for a small retail business: Clothing, Footwear, Accessories, Gift Items, Seasonal. Example for a construction business: Tools, Materials, Safety Equipment, Consumables.
Decide Your Location Structure
Location in inventory software is where items are stored, not where you sell them. Locations might be:
– The physical store vs. the stockroom
– Warehouse A vs. Warehouse B
– Main location vs. vehicle stock (for mobile businesses)
Keep locations meaningful: tracking stock in “Shelf 3, Row 2” is more detailed than useful unless you have a warehouse where that level of precision matters.
How to Set Up Inventory Management for Small Business: Step by Step
Step 1: Export Your Current Inventory to a Spreadsheet
Before touching any software, get everything you currently have into one place. If you’re already using a spreadsheet, clean it up. If inventory exists only in your head or across multiple documents, now is the time to consolidate.
Minimum columns needed:
– Item name
– SKU (create one if you don’t have them – typically brand abbreviation + number: NIKE-001)
– Barcode (if your items have them)
– Category
– Current quantity
– Location (if multiple)
If you have supplier information or cost prices, add those too – the setup phase is the easiest time to get data complete.
Step 2: Create Your Account and Set Up Categories
Start in BoxHero (or your chosen software) with the structure, not the items. Create categories first so that when you import items, they go into the right place.
→ Start BoxHero Free – No Credit Card Required
In BoxHero: Settings – Categories – Add Category. Create your top-level categories, then subcategories if needed. Spend 15 minutes on this; changing category structure after you have 500 items catalogued is painful.
Step 3: Set Up Custom Attributes
If your items have variants (size, color, material, grade), set up custom attributes before importing items.
In BoxHero: Settings – Custom Attributes – Add Attribute. Common attributes: Size (dropdown: XS/S/M/L/XL), Color (text or dropdown), Material (text), Brand (text), Supplier (text).
These become columns in your item records and can be used for filtering and reporting later.
Step 4: Set Up Locations
Create your location structure before importing items.
In BoxHero (Business plan): Settings – Locations – Add Location. If you have a single store and a stockroom, create both. If you’re running one location, the default location handles everything.
Step 5: Import Items from Excel
BoxHero’s Excel import is the fastest way to get existing inventory in. Export their template, map your spreadsheet columns to the template columns, and import.
Critical to do correctly:
– SKUs must be unique
– Quantities at import become your starting point – make sure they’re current as of import day
– Categories must match exactly what you created in step 2
For a business with 500 items, this import takes 1-3 hours including cleanup. For 50 items, under an hour.
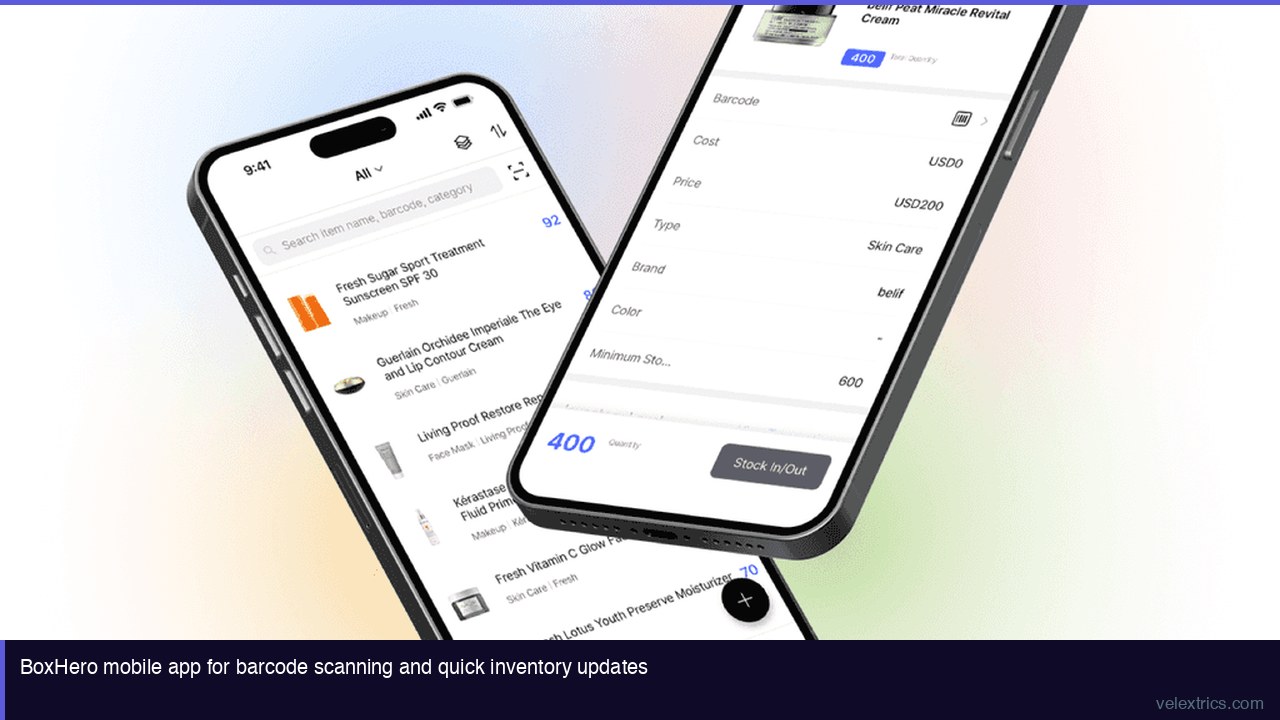
Step 6: Assign Barcodes
If your items have supplier barcodes (standard for most retail products), you can scan them directly into BoxHero to assign barcodes to items. If items don’t have barcodes, BoxHero can generate and print custom barcodes.
Once barcodes are assigned, all future receiving and stock count transactions can use scanning rather than manual entry.
Step 7: Set Safety Stock Levels
For each item where stockouts cause problems, set a safety stock (minimum quantity) level. This is the trigger for low stock alerts.
Calculate safety stock based on: lead time from supplier + expected demand during that lead time + buffer for demand variability.
A simple formula: (average daily sales x lead time in days) x 1.5. The 1.5 multiplier provides a buffer.
Step 8: Do an Opening Stock Count
After import, do a physical count to verify quantities. This is also a good time to assign barcodes if you haven’t yet.
Record any discrepancies as adjustments in the system. After this count, your system stock and physical stock should match – this is your baseline.
Step 9: Train Staff on Transaction Entry
The most common post-implementation failure is staff not recording transactions. Training should cover:
– Receiving: how to enter a new delivery (scan each item, enter quantity received)
– Sales/outgoing: how to record stock leaving (scan item, enter quantity out)
– Transfers: how to move stock between locations
– Adjustments: how to handle discrepancies found during counts
The workflow should be fast enough that recording a transaction takes under 30 seconds. If it’s slower, the process isn’t set up correctly.
Step 10: Establish a Count Cadence
Regular stock counts verify that system records match physical reality. For most small businesses:
- Spot checks: Weekly for fast-moving or high-value items (scan 10-20 items and compare to system)
- Full counts: Monthly or quarterly for complete inventory reconciliation
Discrepancies found during counts are recorded as adjustments in BoxHero, which maintains the transaction record. Regular counting turns up data entry errors before they compound.
Common Setup Mistakes to Avoid
Starting with transactions before item setup is complete: Transactions reference items. If items aren’t set up correctly before transactions start, the history is chaotic.
Creating too many categories: A category structure that looks logical in planning becomes cumbersome in daily use. Start with fewer categories than you think you need; you can add more later.
Not assigning barcodes: Many businesses skip barcode assignment and continue manual entry. This is the source of most ongoing accuracy problems. Spend the time at setup to assign barcodes; the long-term benefit is significant.
Setting unrealistic safety stock levels: Safety stock set too high wastes cash; set too low, alerts become meaningless. Calculate from actual lead times and demand history rather than round numbers.
Not training staff on the mobile app: The web interface is for setup and reporting; the mobile app is for daily transactions. Staff who don’t know the mobile app revert to manual methods.
Post-Setup: Getting Maximum Value
Review low stock alerts weekly: They’re only useful if someone acts on them. Assign responsibility for reviewing and responding to alerts.
Use transaction history for buying decisions: After 60-90 days, you have enough data to see what’s moving and at what rate. Use this for reorder point refinement and buying decisions.
Run monthly reconciliation reports: Compare system stock to physical counts monthly. Consistent discrepancies in the same items indicate a recording gap or a loss pattern worth investigating.
→ Try BoxHero for Your Business – Free Trial Available
Frequently Asked Questions
How long does inventory setup take?
For a business with 100-500 items, allow a full day for category setup, Excel import, barcode assignment, and opening count. For 500-1,000 items, 2-3 days. Complex attribute structures or messy source data add time.
Should I set up all items at once or in phases?
All items at once is strongly preferred. Partial setup creates a two-system situation (some items in the software, some not) that’s harder to manage than starting fresh.
What if my item list isn’t clean?
Clean it before import, not after. Merging duplicate SKUs, standardizing names, and assigning missing barcodes is much faster in a spreadsheet than in the inventory system.
Can I change the category structure after setup?
Yes, but it requires recategorizing existing items. Some reorganization is normal; major structural changes are painful. Plan carefully at setup.
What happens to the data if I cancel the subscription?
Check BoxHero’s data export policy before committing. Generally, cloud inventory systems allow data export; verify that your item and transaction data can be exported to Excel or CSV if you ever need to switch systems.