Budget DJ Lighting Setup Guide: Light Up Your Gig in 2026
You bought the fixtures. Now you have a pile of moving heads and par cans, a tangle of cables, and a gig on Saturday. The gap between “lights I own” and “a show that looks intentional” is smaller than it seems — it comes down to a handful of setup steps anyone can learn. This budget DJ lighting setup guide walks you from bare fixtures to a programmed show, without buying a single thing you don’t need.
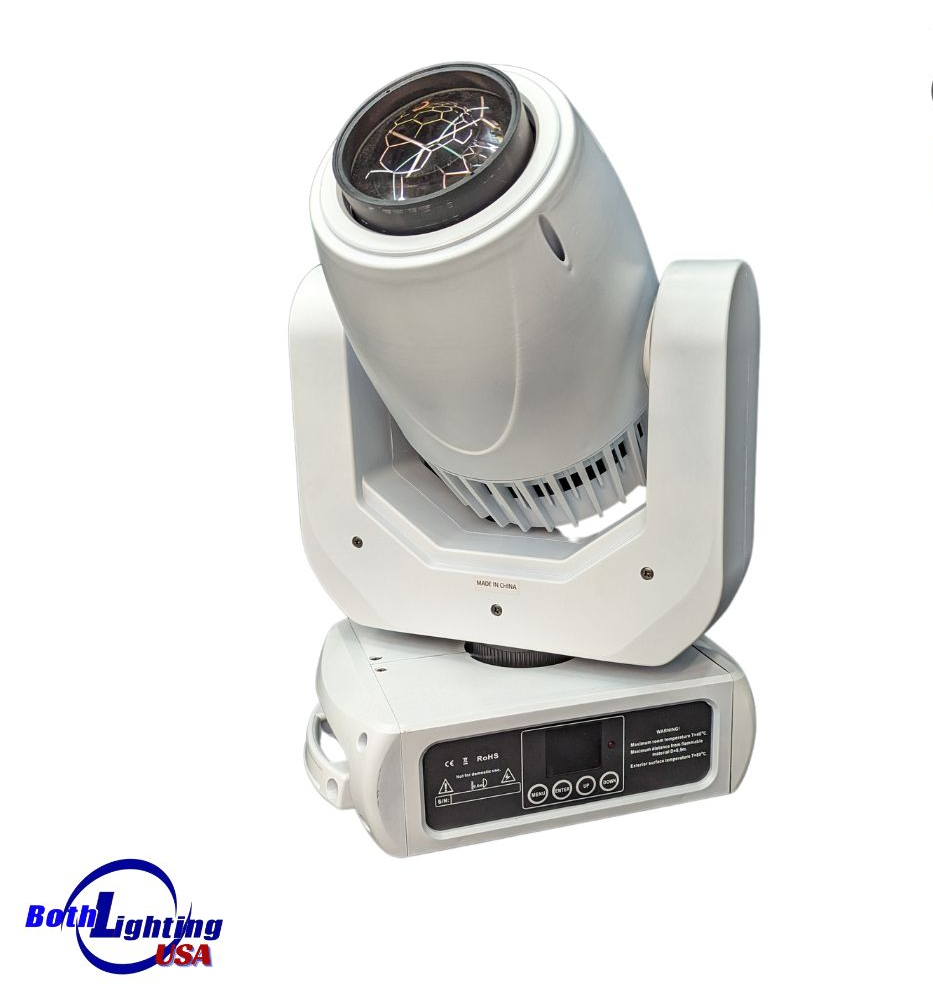
If you haven’t bought your rig yet, start with the best DJ lights of 2026 guide and the SHEHDS review to choose fixtures first — this guide assumes they’re in front of you.
Step 1: Plan a Simple Budget DJ Lighting Setup
Don’t light everything. A clean show uses a few fixtures with clear jobs:
- Uplighting — par cans against walls or the front of the stage for ambient colour
- Movement — one or two moving heads for dynamics and beams
- Front light — one fixture lighting you, so the crowd sees a performer, not a silhouette
- Atmosphere — a haze or fog machine so beams actually show in the air
For a mobile DJ, four pars plus one or two moving heads is a complete budget DJ lighting setup. Resist the urge to add more until you’re using what you have well.
Step 2: Position and Power Your Fixtures
Place pars low and angled up the walls for uplighting; mount moving heads high on a T-bar or truck-pack stand so beams clear the crowd. Keep one fixture aimed at the DJ booth for front light.
On power: LED fixtures draw little, but don’t daisy-chain everything onto one weak outlet. Spread fixtures across circuits where you can, and use proper power links rather than a bargain power strip behind the booth.
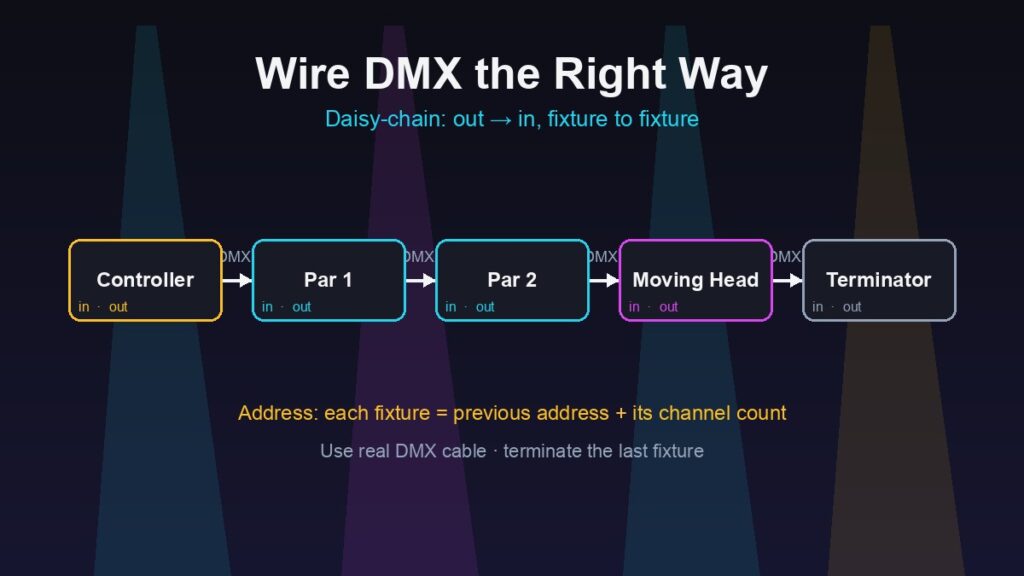
Step 3: Wire DMX the Right Way
This is the step that separates a real rig from a flashing mess. DMX lets one controller run every fixture in sync.
- Run a DMX cable out of your controller into the first fixture’s DMX in
- Cable out of that fixture into the next fixture’s in — daisy-chain the whole rig
- Use proper DMX cable (not microphone cable) for a stable signal
- On a longer run, a DMX terminator on the last fixture prevents flicker
Because fixtures from a brand like SHEHDS carry DMX in and out, chaining a mixed rig of pars and moving heads is straightforward.
Step 4: Address Each Fixture
Every DMX fixture needs a starting address so the controller knows which channels belong to it. The rule: each fixture’s address equals the previous fixture’s address plus its channel count.
- Fixture 1 (a 7-channel par): address 1
- Fixture 2 (also 7 channels): address 8
- Fixture 3 (an 11-channel moving head): address 15
Set the address on each fixture’s menu, note them down, and match them in your controller. Fixtures of the same model and mode can share an address if you want them to move together — handy for a row of pars.
Step 5: Program Scenes and Chases
Now make it a show. Build a few scenes (static looks) and chases (sequences) you can trigger by feel:
- A warm wash for arrivals and dinner
- A colour-cycling chase for the main floor
- A high-energy beam-and-strobe look for peaks and drops
- A blackout you can hit instantly
You don’t need dozens. Four or five well-built looks, mapped to controller buttons, cover an entire night. Sound-active mode is a fine safety net, but pre-programmed scenes are what make a budget DJ lighting setup look deliberate.
Step 6: Add Haze and Tune the Room
Fire up the haze machine before doors open. A light, even haze is the single biggest upgrade to any rig — beams and washes barely read without it. Then walk the room: check that front light hits the booth, beams clear the crowd, and nothing is blinding the front row. Small angle tweaks now save you all night.
Frequently Asked Questions
What’s the minimum gear for a budget DJ lighting setup?
Four LED par cans, one moving head, a basic DMX controller and a haze machine. That covers uplighting, movement, control and atmosphere.
Do I really need a DMX controller?
For one fixture, no — sound-active mode works. For two or more lights running a coordinated show, a basic DMX controller is the cheapest and most important upgrade.
Why are my beams invisible?
There’s no haze in the air. Beams and washes only show against atmosphere — a haze or fog machine fixes it instantly.
How do I stop my lights from flickering?
Use proper DMX cable rather than mic cable, avoid overly long runs, and add a DMX terminator on the last fixture in the chain.
Get these six steps right and a budget rig looks like money. Plan simple, wire DMX cleanly, address carefully, program a few strong looks, and never skip the haze. Then go build your rig and light up the gig.