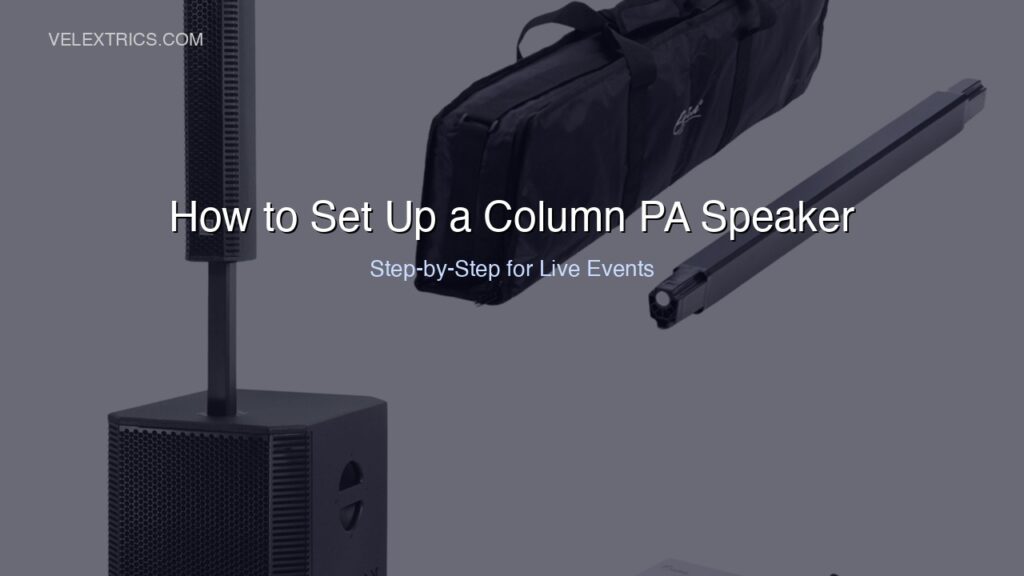
Knowing how to set up a column PA speaker correctly is the difference between a system that sounds professional and one that feeds back, sounds hollow, or runs out of headroom early in the event. Column PA speakers are simpler to deploy than traditional multi-component PA rigs, but “simpler” doesn’t mean “plug and play.” Placement, gain staging, and EQ decisions made in the first ten minutes of setup determine how the system sounds for the entire event.
This guide covers how to set up a column PA speaker step by step, from venue assessment to soundcheck.
Disclosure: this article contains affiliate links. We may earn a commission if you buy through our links, at no extra cost to you.
Before You Arrive: Venue Assessment
The best column PA setup decisions happen before the system is in the room. Ask these questions about every venue:
Room dimensions: Length, width, and ceiling height. A column PA’s narrow vertical dispersion works best in rectangular rooms with standard 8-12 foot ceilings. Long narrow rooms benefit from a second speaker mid-room rather than pushing one unit harder.
Room treatment: Hard surfaces (concrete floors, glass, bare walls) reflect sound and create echo. Soft surfaces (carpet, draping, seated audience) absorb it. Events in hard-surface rooms need more careful EQ and positioning to avoid wash and reflections.
Power availability: Column PA systems typically draw 10-20 amps at full power. Know what circuits are available and whether you need a separate circuit for the PA and lighting.
Stage or performance position: Where is the performer relative to where the audience will be? This determines where the speaker goes.
Step-by-Step: Setting Up Your Column PA Speaker
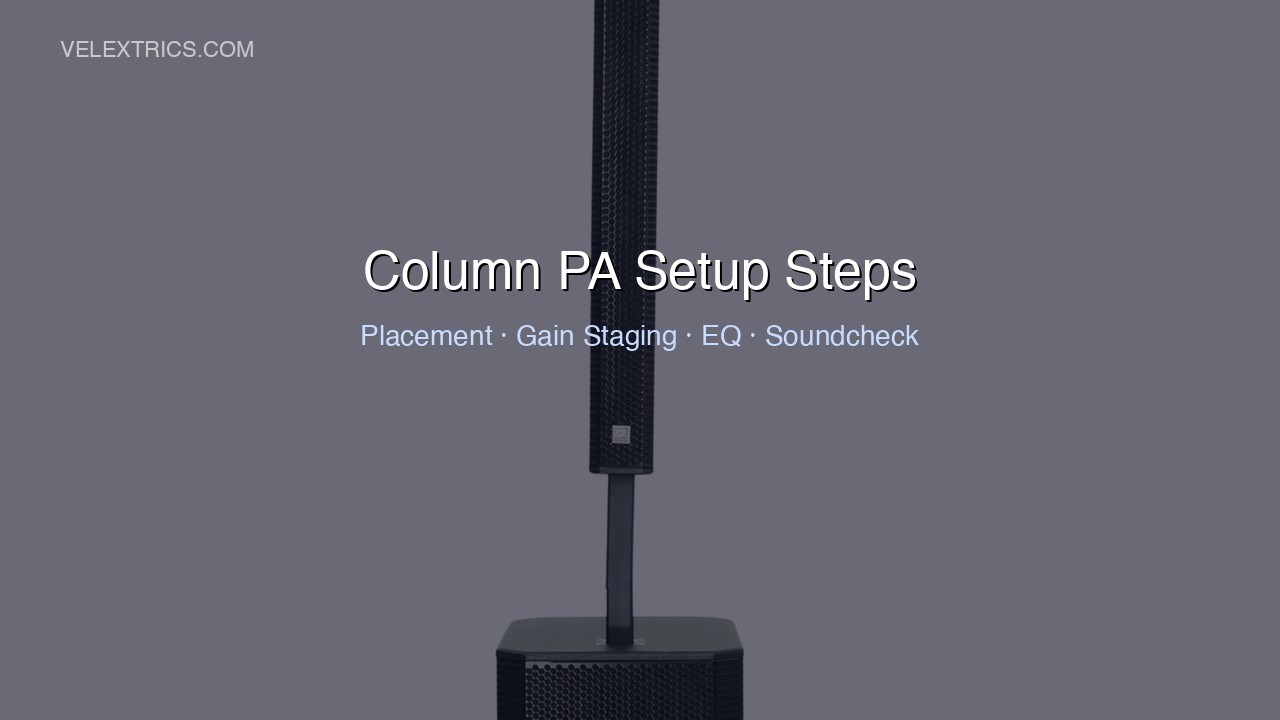
Step 1: Position the Speaker
Column PA speaker placement determines everything downstream. The goal is to position the speaker so it projects directly into the audience area without pointing at surfaces that will cause reflections or feedback.
Standard placement for a single column PA:
– Position the speaker at or just forward of the front edge of the performance area
– Angle it slightly inward toward the audience if the room is wider than it is deep
– Keep the speaker at least 6-8 feet from the closest microphone being used (the closer the mic, the higher the feedback risk)
– Height: Most column speakers have a fixed or minimally adjustable height. The column array section should sit at roughly head height for standing audience members – typically 5-6 feet off the ground
For stereo setups (two speakers):
– Place one column at the left edge and one at the right edge of the performance area
– Angle each speaker inward roughly 15-20 degrees toward the center of the audience
– Keep left and right units equidistant from the stage front
Step 2: Make All Connections Before Powering On
Connect all signal cables and power before turning the system on. This prevents pops and surges that can damage speakers.
Signal chain in order:
1. Source (DJ controller, phone, laptop) → mixer
2. Mixer main output → speaker XLR input
3. If using a second speaker: speaker XLR through output → second speaker XLR input
If connecting a microphone directly (no mixer):
1. Microphone → XLR to speaker’s microphone input
Set all levels (source, mixer, speaker) to minimum before powering on.
Step 3: Power On in the Correct Order
Always power on from source to speaker:
1. Power on source devices first (laptop, DJ controller, phone)
2. Power on mixer if present
3. Power on speaker last
Power off in reverse order:
1. Speaker off first
2. Mixer off
3. Source devices last
This sequence prevents the thumps and pops that can stress speaker components.
Step 4: Gain Staging
Gain staging – the process of setting appropriate signal levels at each point in the signal chain – is the most commonly skipped step by non-engineers. It has the largest impact on sound quality.
For a DJ controller → column PA setup:
- Set the speaker’s input sensitivity (or gain) to minimum
- Play music through the controller at the output level you’ll use during the event
- Slowly raise the speaker’s input gain until you reach a clean, loud level without the signal LED lighting red consistently
- The speaker’s volume control is now your master volume for the event
For a mixer → column PA setup:
- Set individual channel gains so the channel meters peak around 0dB on musical peaks (not every beat, just peaks)
- Set the master output fader to unity (typically marked as “0” or “U”)
- Use the speaker’s input gain to set the overall system volume
This ensures the signal is as clean as possible throughout the chain. Running sources at maximum and turning down the speaker is a common mistake that amplifies noise and distortion from earlier in the chain.
Step 5: EQ Settings for the Room
Column PA speakers typically have onboard EQ – basic tone controls or a preset system. Start with a flat (neutral) position and adjust from there based on what you hear.
Common starting adjustments:
- Hard/reflective room: Reduce high frequencies (-2 to -3dB around 8-12kHz) to tame harsh reflections. Cut some upper midrange (-2dB around 2-4kHz) if speech sounds harsh.
- Soft/absorptive room: Rooms full of people, carpet, and draping absorb highs. You may need to add a small boost (1-2dB around 10kHz) to maintain clarity.
- Outdoor events: Add low-end (-2dB around 100-200Hz) as outdoors lacks room reinforcement of bass frequencies. Boost highs slightly for airiness and projection.
Make EQ adjustments in small increments. Cut rather than boost when possible – removing problem frequencies usually sounds cleaner than adding compensating ones.
Step 6: Soundcheck
Soundcheck before the audience arrives. Test:
Microphones: Have someone speak into each mic from the position they’ll use during the event. Walk to the back of the room and listen for clarity and volume. Check for feedback by slowly raising mic gain until the system is just below the feedback threshold, then back off slightly.
Music: Play music representative of what you’ll play at the event. Walk the room. Identify spots where coverage is thin (common at the sides near the back) and assess whether the placement needs adjustment or a second speaker is warranted.
Volume levels: Establish your working levels during soundcheck. If the system can comfortably hit event volume with 20-30% of headroom remaining, you have room for dynamic peaks without distortion.
Avoiding Feedback
Feedback – the high-pitched squeal that happens when a speaker’s output reaches a microphone at sufficient volume – is the most common issue in live PA setups.
Prevention:
- Keep microphones behind the plane of the speaker (the speaker should always be projecting away from the mic, not toward it)
- Don’t point microphones directly at the speaker
- Keep mic gain as low as you can while still achieving the needed volume
- Use directional (cardioid) microphones that reject sound from behind and the sides
If feedback occurs during an event:
- Turn the master volume down immediately
- Identify which microphone is causing feedback and reduce its channel gain
- Check whether the mic position has changed relative to the speaker
- Use the onboard EQ to identify and cut the feedback frequency (it will be a specific tone)
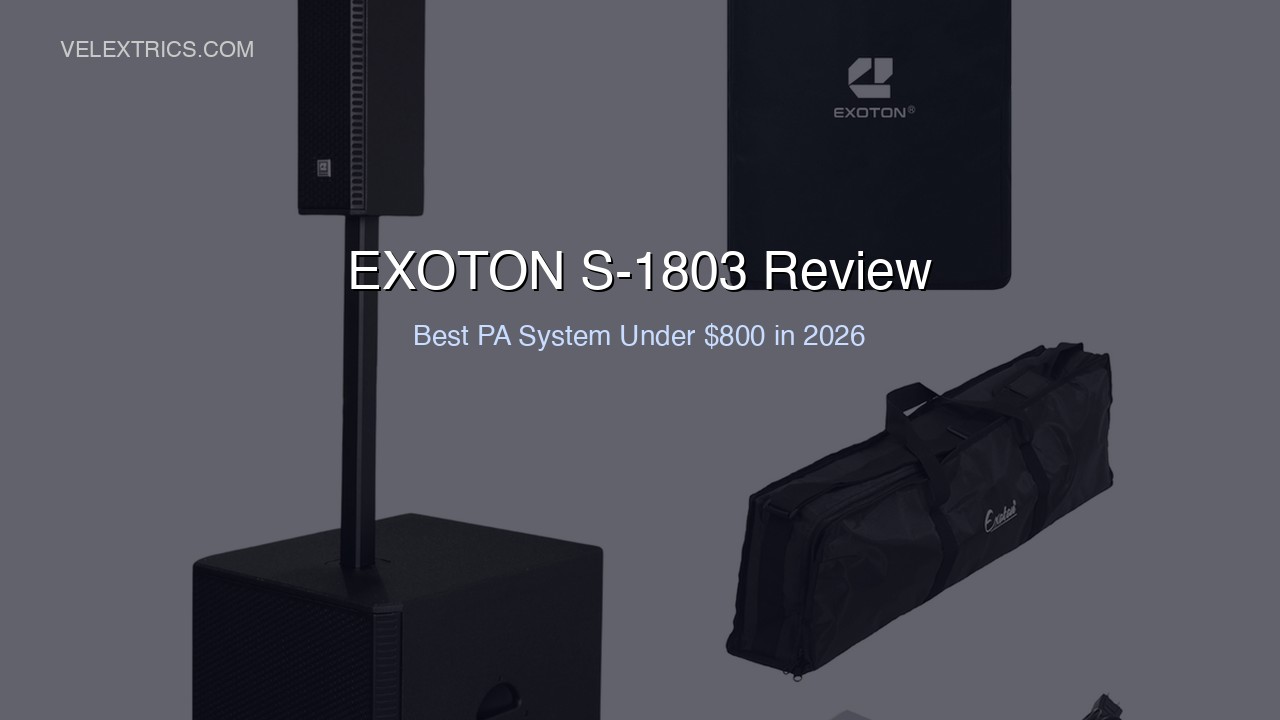
Using EXOTON Column Speakers for Your Events
EXOTON’s column PA lineup – the S-1203 at $439.99, S-1503 at $569, and S-1803 at $799 – are designed for exactly this type of event deployment. The Bluetooth connectivity on all models provides a backup connection path when a client’s device needs to connect directly. The XLR through output makes daisy-chaining a second unit straightforward for larger coverage.
For mobile DJs and event performers who follow the setup process above, EXOTON’s column PAs are straightforward to deploy across different venue types without requiring system-by-system configuration from scratch.
→ Shop EXOTON Column PA Speakers
Common Mistakes to Avoid
Skipping gain staging: Running sources at maximum and turning down the speaker is the most common setup mistake. It adds noise and reduces dynamic range.
Placing the speaker too close to a wall: A speaker firing into a side wall 2-3 feet away creates heavy early reflections. Position the speaker so it fires into open audience space.
Too much bass for the room: Hard-surface rooms build up bass frequencies naturally. Over-boosting bass on the speaker’s EQ creates muddy, unclear sound. Start flat.
Checking levels too early: If you soundcheck two hours before an audience arrives, the room acoustics change significantly when people fill it (audience absorbs sound). Allow for needing more volume once the room is full.
Frequently Asked Questions
How far away can a column PA speaker cover?
In a typical indoor event space, a single EXOTON S-1803 (3000W) can provide clear coverage at up to 100 feet. Beyond that distance, a second speaker mid-room is a better solution than increasing volume.
Do I need a mixer or can I connect directly to the column PA?
Most column PA speakers including EXOTON’s have direct microphone inputs and Bluetooth, so a mixer is not required for simple setups. A mixer adds flexibility for multi-source events (multiple mics, DJ equipment, background music) and gives you more control over levels independently.
Can I use a column PA outdoors?
Yes, with adjustments. Outdoors lacks the reflective surfaces that reinforce bass and low-midrange indoors. Plan to need 20-30% more volume outdoors for the same perceived loudness, and adjust EQ for less bass buildup.
What’s the maximum event size for one EXOTON S-1803?
In an enclosed room with good acoustics, a single S-1803 comfortably covers events of 150-250 people. Beyond that, two units in stereo or a speaker positioned mid-room provides better coverage than pushing one unit near its limit.